How to make your own Christmas bunting
Habitat bright ideas with Fleur Thorpe – DIY projects
Fleur Thorpe shows how you can make your own Christmas bunting.

You will need
- Resene testpot in your choice of colour; Fleur used Resene Half Rice Cake
- Resene Timber and Furniture Gel in Resene Jarrah Tree
- 4mm thick plywood
- Saw, drill and sandpaper
- Cloth or rag
- ‘Merry Christmas’ printed onto paper
- Sellotape and small craft paintbrush
- String/twine and beads
Instructions
Step 1: Print out ‘Merry Christmas’ in a font and size that you like. Measure the biggest letter (‘M’) and work out how big you want to make your bits of plywood.
Step 2: Cut the thin plywood into 14 equally sized rectangles (Fleur’s are 6cm by 7cm). Sand the edges smooth.
Step 3: Measure where you want the holes for the string to go and drill these.
Step 4: Using rubber or silicon gloves and a soft cloth, rub the Resene Timber and Furniture Gel in Resene Jarrah Tree onto the front, back and sides of each of the ply rectangles.
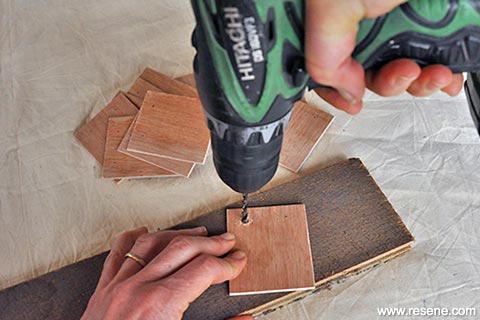 Step three
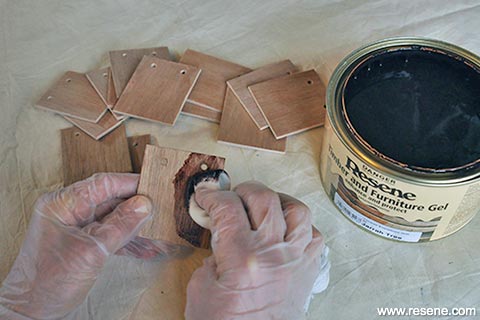 Step four
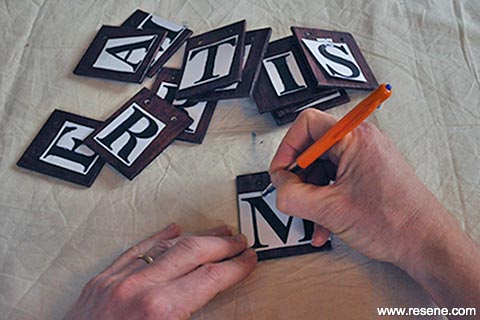 Step six
Step 5: Roughly cut out each of the ‘Merry Christmas’ letters and Sellotape one to each of the wood rectangles.
Step 6: Using a pen, trace around each of the letters, remembering to press firmly so that you leave an indentation in the wood.
Step 7: Remove the Sellotape and paper letters, and with a small, fine craft paintbrush, paint each of the letters with Resene Half Rice Cake, following the indentation as a guide. Leave the paint to dry.
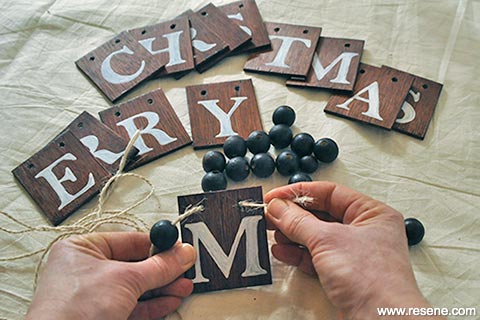
Step 8: String the wooden letters together. Fleur used wooden beads to space out the letters further.
Top tip: Use 2-3 colours to paint your Christmas message to bring the garland into your Christmas colour palette.
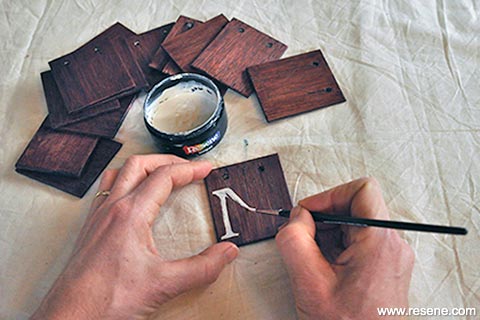 Step seven
 Step eight


Styling and images by Fleur Thorpe, 2017.