How to make a wooden bead garland
Habitat bright ideas with Fleur Thorpe – DIY projects
Make a colourful wooden bead garland for your home. Fleur Thorpe shows you how.
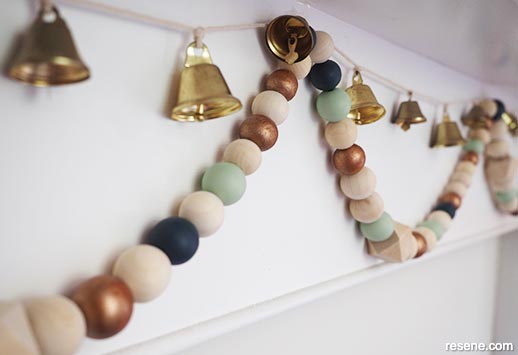
Mantelpiece – Resene Half Rice Cake
Wall – Resene Carrara
You will need
- Wooden beads, variety of sizes (I used about 120 –130 beads)
- Resene testpots in your choice of paint colours, Fleur used Resene Norway, Resene Magma and Resene Coast
- Paintbrush
- Length of string/wool
Instructions
Step 1: Gather together round wooden beads in a variety of size. (Photo 1). Fleur also included six larger geometric shaped beads.
Fleur found it helpful to lay all my beads out on the floor in a long line with the large geometric beads evenly placed and the round beads arranged in a pattern from large to small to large again between each of the geometric beads. Fleur then selected the beads she wanted to paint in each colour, making sure that they were roughly evenly spaced alone the line of beads.
Step 2: Paint the beads in your chosen Resene colours. Fleur used Resene Norway, Resene Magma and Resene Coast. Fleur found it helpful to hold each bead on the end of a skewer while painting. (Photo 2).
Step 3: Once all the beads are dry, arrange them back in the line of beads and string them up. Fleur used cotton string. To make it easier to thread the string through the beads, Fleur put some glue on the first inch or two of the end of the string and left that to dry and harden. Fleur then used this to thread through the beads, like you would if you were using a needle.
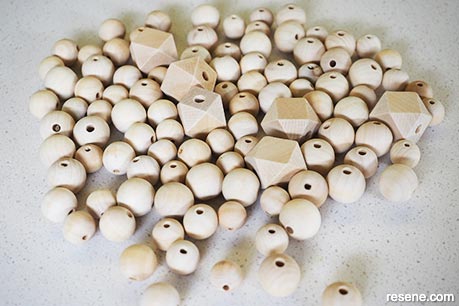
Photo one
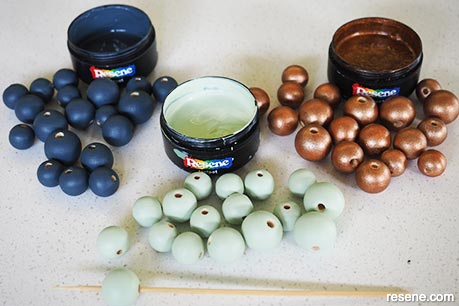
Photo two
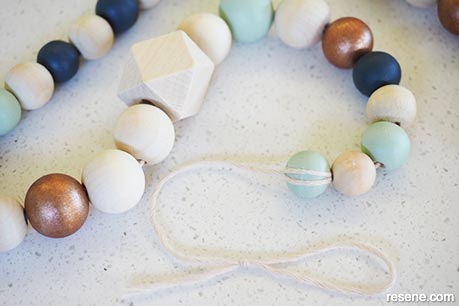
Photo three
Step 4: Secure the last bead by doubling back through it twice to hold it in place. Tie a loop at the end of the string to make it easy to hang. (Photo 3).
Top tip: Paint mini dots onto your beads using Resene FX Nightlight for a glow in the dark effect at night.


Project and images by Fleur Thorpe. November 2021.