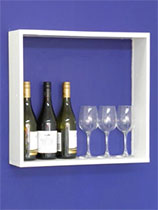
Wine bottle rack
Go green and recycle your old Resene paint tins into this fabulous wine rack.

Weekend DIY with Mark Rayner - Project 04
Difficulty level: Challenging
You will need: 19mm plywood cut to the following dimensions: 330mm x 150mm (x2) 478mm x 150mm (x2), 7mm plywood cut to 475mm x 365mm, Clean, lint-free cloth, Construction glue, Flat wooden paint stirrer, Hammer, Paintbrush, Panel pins (25mm and 40mm), PVA glue, Resene Aquaclear gloss, Resene Waterborne Colorwood tinted to Resene Mahogany, Resene Enamacryl Metallic tinted to Resene Silver Aluminium, Resene Lumbersider tinted to Resene Silver Chalice, Resene Waterborne Smooth Surface Sealer, Sandpaper, Twelve empty 1 litre Resene paint tins
To get the look: Mark painted the background wall colour with Resene SpaceCote Low Sheen tinted to Resene Wild Thing.
How to make a build a wine rack
 Step one
 Assemble the pieces of plywood to form a box, as shown. Use PVA glue and 40mm panel pins to fix the sides and 25mm panel pins to fix the back. Smooth any rough edges with sandpaper.
 Step two
 Carefully stir the Resene Waterborne Colorwood using a flat wooden stirrer and apply one coat to the plywood box. Leave to soak into the plywood for up to 15 minutes and then wipe off any excess with a clean, lint-free cloth. Allow to dry and then apply a second coat of Resene Mahogany to the box. Leave to dry for 48 hours.
 Step three
 Apply two coats of Resene Aquaclear gloss to the box, allowing two hours for each coat to dry.
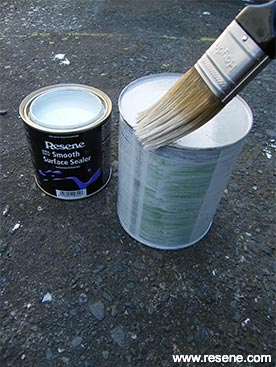 Step four
Remove as much old paint as possible from the Resene paint tins and lightly sand any bare metal to provide a ‘key’. Apply one coat of Resene Waterborne Smooth Surface Sealer to the inside and outside of each tin. Allow two hours to dry.
 Step five
 Apply one coat of Resene Silver Chalice to the inside and outside of each tin and allow two hours to dry.
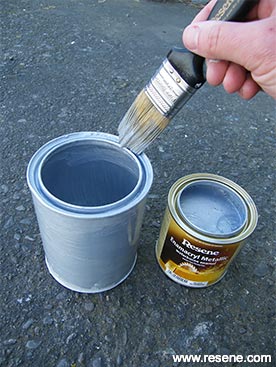 Step six
 Apply two coats of Resene Silver Aluminium to the inside and outside of each tin, allowing two hours for each coat to dry.
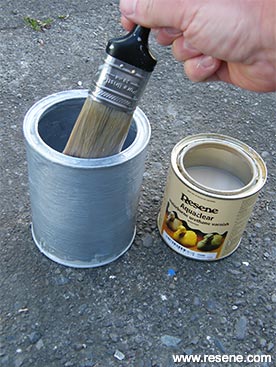 Step seven
 Apply two coats of Resene Aquaclear gloss to the inside and outside of each tin, allowing two hours for each coat to dry.
 Step eight
 Place the tins in the plywood box, as shown, fixing each base with a generous blob of construction glue. Allow glue to dry before standing the right way up and sliding a wine bottle into each tin.
Other ideas: Create a warm luxurious copper finish by using a basecoat of Resene El Salva with a topcoat of Resene Copper Fire.
› Download a PDF of this project
Other projects you might like to try
Drawer shelf
Weekend DIY
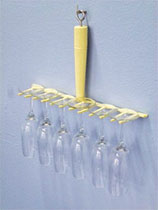
Wine glass holder
Weekend DIY

Candleholder
Ways with wood

Ladder shelving
Ways with wood

Cascading planter box
Weekend Gardener

Make a potting bin
Weekend Gardener