Advent calendar
Create your own brightly coloured Christmas tree shaped Advent Calendar
24 days until Christmas!
Things you will need
- 1000mm x 1200mm sheet of MDF
- 24 x large matchboxes
- PAL No.1 Roller Sleeve (100mmm)
- Roller handle
- Paint tray
- Legend 38mm Angle Brush
- Sponges (varied sizes)
- Chalk pen
- Double sided tape
- Resene Quick Dry Waterborne Primer Undercoat
- Resene SpaceCote Flat in Resene Double Cod Grey
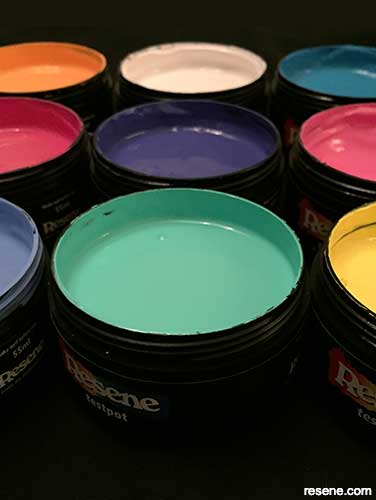
- Testpots in: Resene Abercrombie, Resene Dali, Resene Kudos, Resene Optimist, Resene Scrumptious, Resene Shirley Temple, Resene Skydiver, Resene Smitten, Resene Wild Thing
Step-by-step guide
How to create an advent calendar using your favourite colours and designs:
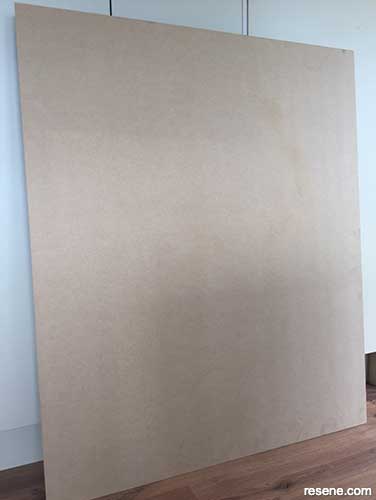 Step 1
Apply one coat of Resene Quick Dry Waterborne Primer Undercoat using the roller to the MDF.
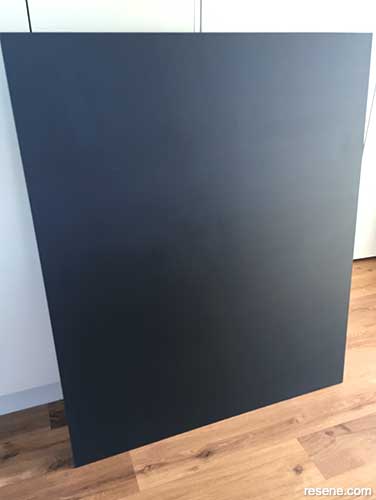 Step 2
Apply two coats of Resene SpaceCote Flat - Resene Double Cod Grey - using the roller to the MDF.
 Design tips
You could paint this in any colours you like as you get the effect of the shape of a tree with the layout. See some more ideas...
 Step 3
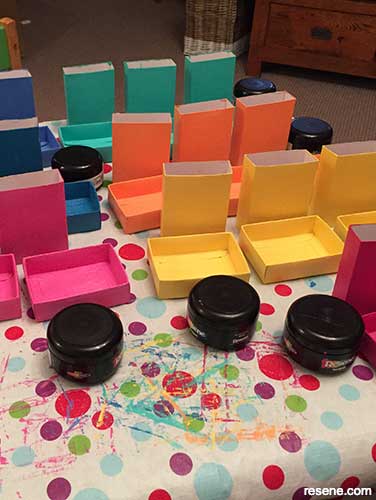
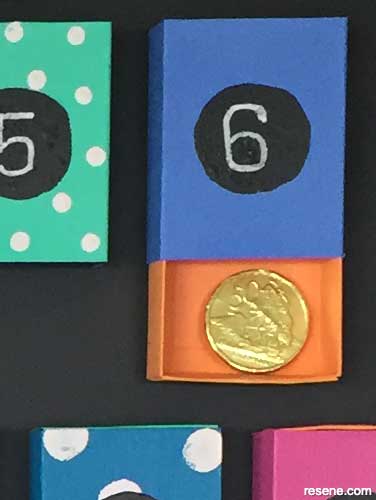
Apply two coats of paint using the Legend 38mm Angle Brush and Resene Testpots to the matchboxes including the tray inside each box. Alternate the colours to get a bright effect.
 Step 4
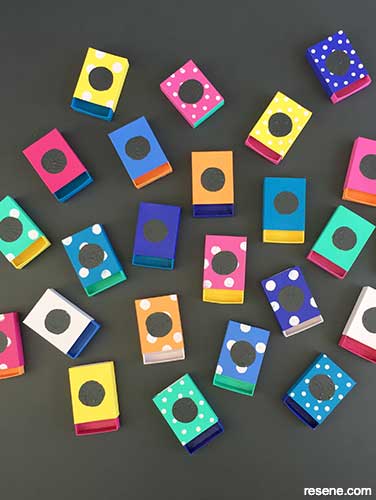
Once the matchboxes are dry apply patterns to boxes (we have used circle sponges in varied sizes).
 Step 5
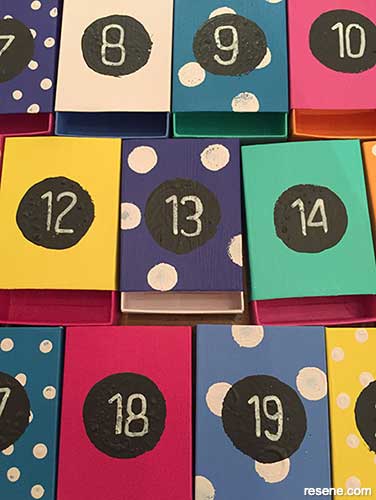
Using a larger shaped sponge apply dots in centre of matchboxes with Resene SpaceCote Flat - Resene Double Cod Grey. Once dry write the numbers on matchboxes.
 Step 6
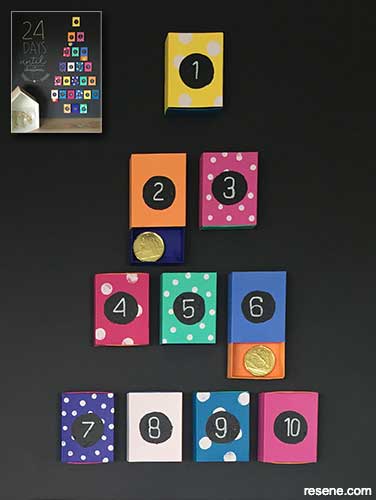
Using double-sided tape, place strips on back of each matchbox and then apply to MDF.
 Step 7
Fill with goodies and begin your countdown to Christmas!
Extra ideas
-
You could try ombré, starting light at the top of the tree and fading to darker colours towards the bottom of the tree. Try using the Resene Stack range if you want to create a neutral version.
-
You could paint it a Christmas tree green colour - try Resene Bingo.
There are so many fun options you could create with this concept. Find some colours you love, some special treats and get painting.
Christmas crafts and projects with Resene
Looking for some holiday decorating ideas? Get inspired with our collection of Christmas crafts and projects!