Easy Easter centrepiece
From Designer DIY and DIY hacks - ideas and inspiration
Use tonal paint trends to create a dreamy, decorative Easter centrepiece for your table.
All it takes is a few Resene testpots and of course, some eggs! Follow the quick and easy steps to recreate this look in your own home.

You will need
- Assorted vessels for painting (bowls, vases, pots etc.).
- Testpot brushes.
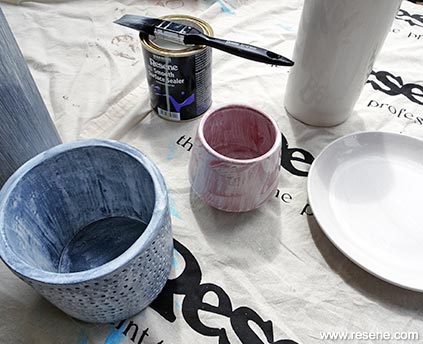
- Resene Waterborne Smooth Surface Sealer.
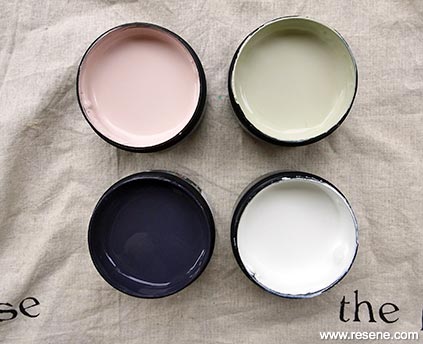
- Resene testpots in Resene Green Spring, Resene Soothe, Resene Bastille and Resene Saltpan.

Before
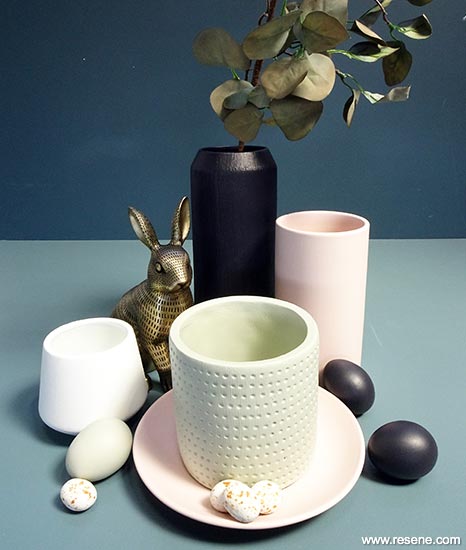
After
Instructions
Step 1: You will need a few different vessels to cluster together for your centrepiece. Sarah purchased all of these items reduced-to-clear from The Warehouse, but you could easily use second-hand finds or pieces you already have at home. Aim to get a few different heights for maximum impact on the table. Start by cleaning, and then applying one coat of Resene Waterborne Smooth Surface Sealer to prepare all surfaces for painting.
Step 1
Step 2

Step 2
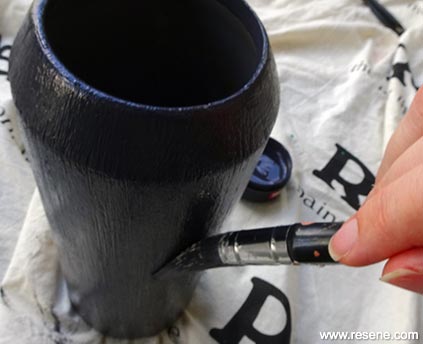
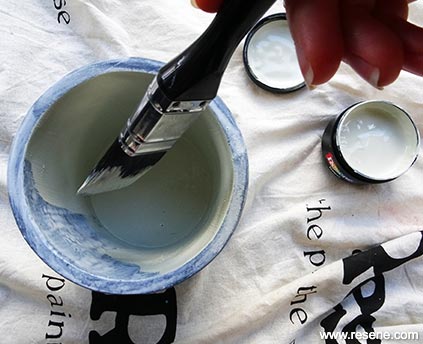
Step 2: Apply two coats of colour to each item in your chosen colours. Sarah chose Resene testpots in Resene Green Spring, Resene Soothe, Resene Bastille and Resene Saltpan. Sarah used a testpot brush to apply the paint; you might even like to exaggerate the brushstrokes to add more texture.
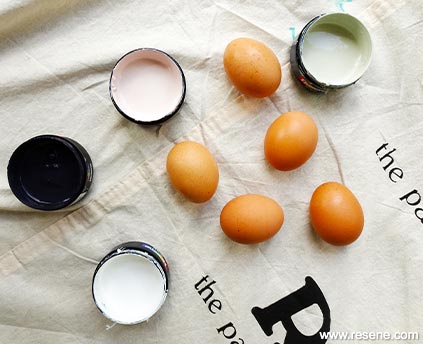
Step 3: To add another dimension to my display, paint some real eggs in the same colours. Make sure you hard boil or blow these out before painting! To style the centrepiece, cluster everything together with some faux foliage, a bunny figurine and of course some chocolate eggs. Fill up all the bowls and vases with chocolate eggs on Easter Sunday for an extra magical display!
Step 2
Step 2
Step 3
Top tips
- Make this a family activity and get everyone to paint something in their favourite colour.
- Once the holiday is over, you can remove the eggs and bunny, and use the vases for flowers.
All products and props are from The Warehouse. Wall and floor painted in Resene Big Stone and Resene Bounty.


Project and photography by Sarah Herring. 2020