Picture perfect
DIY projects from Your Home and Garden
Upcycle some old photo frames and not only will you win points for your environmental stance, but you can also create original one-offs.

Wall painted in Resene SpaceCote Low Sheen in Resene Blue Moon
I’ve had some family photos I’d been meaning to frame set aside for ages, but I was looking for the right frames. I couldn’t find them, so I took some thrifted ones and made them better than they were before. It was an easy and fun craft afternoon.
You will need
Materials:
- Picture frames
- Wooden beads, full and half
- Glue. Either wood glue or hot glue
- Paintbrush
- Painter’s tape
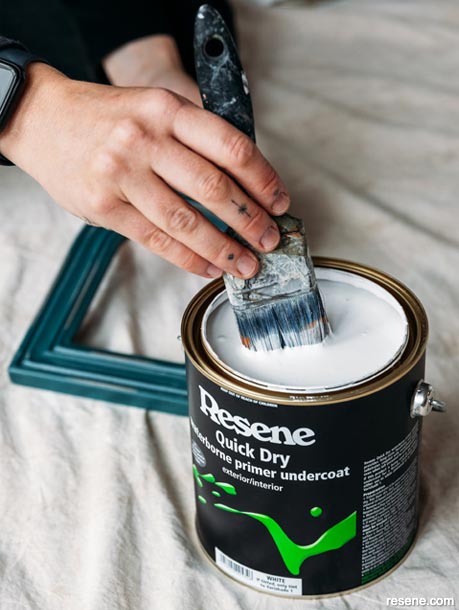
- Resene Quick Dry waterborne primer undercoat for the wooden frames
- Resene Laminate and Melamine Primer for laminate frames
Your choice of paints. I used:
- Karen Walker Chalk Colour in Resene Blanched Pink
- Resene Kashmir Blue testpot
- Resene Hacienda testpot
- Resene Lustacryl semi-gloss waterborne enamel in Resene Guardsman Red and Resene Manuka Honey
Instructions
Learn how to make upcycled picture frames:
 Supplies used
A close-up of all the supplies used in this upcycled photo frame project.
 Step one
Sand and clean all your photo frames.
 Step two
Prime wooden frames with Resene Quick Dry waterborne primer. If your frames are laminate coated, then use Resene Laminate and Melamine Primer and allow them to dry.
 Step three
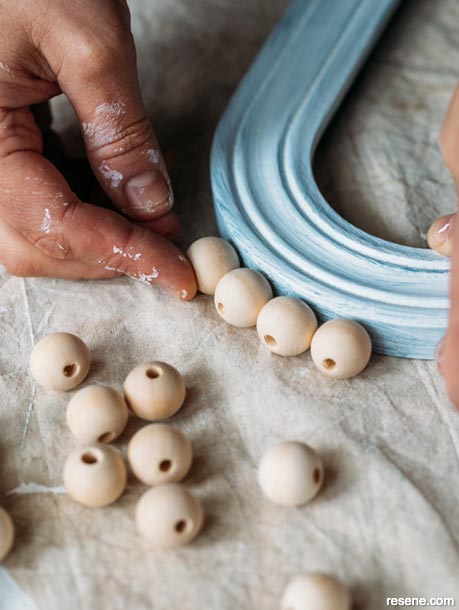
Now it is time to add some fun details. I added full beads/balls to the edges of the curved frame using instant bond glue but you could also use a hot-glue gun. I positioned half the beads on the front of the square frame using PVA, I recommend using PVA wood glue for this, so you have more time to space them evenly.
 Step four
Prime any extra bits you have added to the frame.
 Step five
Allow everything to dry before decorating. I used a variety of Resene colours and finishes. They don’t need to match – just have fun and play around.
 Step six
For the blue ball frame, I applied two coats of Resene Kashmir Blue. For the oval frame, I used two coats of Karen Walker Chalk Colour in Resene Blanched Pink. For the arched frame, I used two coats of Resene Hacienda. Allow the paint to dry completely between each coat.
 Step seven
To create the stripes, paint a lighter colour first. I used Resene Lustacryl semi-gloss in Resene Manuka Honey. Allow a good amount of time for it to dry. I used painter’s tape to create stripes, then painted Resene Lustacryl semi-gloss in Resene Guardsman Red onto the exposed parts of the frame. The frame will need two coats of paint, allowing time to dry between coats.
Top tips
-
For glossy varnished frames, you can skip the sanding and just seal with Resene Waterborne Sureseal then topcoat.
-
Crafty tip: Put down a Resene drop sheet with a leak-proof backing to catch any paint drips.
Colours mentioned in this article...


More Resene colours to try...


Products mentioned in this article...
Project: Nikki Kettle. Photography: Anna Briggs. December 2024.