Waste paper bin
Create this fabulous wooden waste paper bin from pieces of pine and finish off with Resene Aquaclear.

Ways with wood with Mark Rayner – 58
Difficulty level: Moderate
You will need: 37 pieces of 25mm x 25mm x 300mm pine – we used pine kindling (which is available from most supermarkets), 40mm panel pins, damp cloth, hammer, heavy books, sandpaper, paintbrush, paint stirrer, piece of flat board, PVA glue and Resene Aquaclear gloss.
To get the look: Mark painted the background wall with Resene SpaceCote Flat tinted to Resene Colonial White.
Other ideas: To create an attractive bleached wood effect, stain the pine with one coat of Resene Colorwood Rock Salt and allow to dry before applying the Resene Aquaclear.

Step one
Sand any rough edges from the pieces of pine and wipe off any sanding dust with a damp cloth.

Step two
Form a square base with fifteen of the pine pieces, as shown, fixing with PVA glue and 40mm panel pins. Allow glue to dry and turn base the right way up.

Step three
Place two pieces of pine across opposite ends of the base, as shown, fixing with PVA glue and panel pins nailed from underneath.

Step four
‘Stack’ alternating pieces of pine along each edge, as shown, fixing at each corner with PVA glue.

Step five
Continue to build up the sides of the waste paper bin, as shown, fixing at each corner with PVA glue.

Step six
Place the board and books on top of the waste paper bin and leave overnight for glue to dry thoroughly.

Step seven
Carefully stir the Resene Aquaclear.

Step eight
Apply three coats of Resene Aquaclear gloss to the waste paper bin allowing two hours for each coat to dry.
Other projects you might like to try
Drawer shelf
Weekend DIY
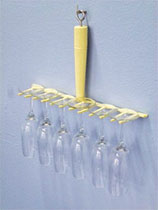
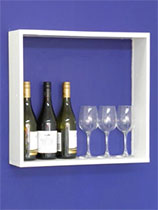
Wine glass holder
Weekend DIY

Candleholder
Ways with wood

Ladder shelving
Ways with wood

Cascading planter box
Weekend Gardener

Make a potting bin
Weekend Gardener