Retro 50s table
Turn an old wooden side table into a fabulous retro feature using a selection of Resene paints.

Resene art with Mark Rayner - Project 18
Difficulty level: Moderate
You will need: Cloth, paintbrushes, Resene Aquaclear Gloss, Resene Enamacryl Metallic (now Resene FX Metallic) tinted to Resene Magma, Resene Lumbersider tinted to Resene Rope, Resene Lustacryl tinted to Resene Woodburn, Resene Waterborne Smooth Surface Sealer, Sandpaper, small paint roller and tray, testpot of Resene Sandtex Mediterranean Effect, wooden side table.
To get the look: Mark painted the background wall with Resene Zylone Sheen tinted to Resene Mellow Yellow and woodwork with Resene Enamacryl tinted to Resene Alabaster.
Other ideas: For a more funky effect use Resene Adrenalin Junkie on the tabletop with Resene Crusoe on the legs.

Step one
Lightly sand the surface of the table to provide a ‘key’ – this will help the sealer to adhere. Wipe clean with a cloth.


Step three
Paint the legs and underside of the tabletop with two coats of Resene Woodburn, allowing two hours to dry for each coat.

Step four
Using a stippling technique to create texture, paint the tabletop with one coat of Resene Sandtex Mediterranean Effect. Allow to dry.


Step six
Using a small paint roller apply one coat of Resene Magma to the tabletop. Allow to dry for two hours.


Step eight
Apply two coats of Resene Aquaclear Gloss to the tabletop, allowing at least two hours between coats. Leave to fully cure for three days before placing any objects on the tabletop.
Other projects you might like to try

Shabby chic table
Resene art
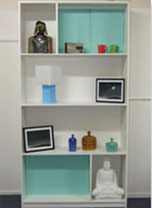
1960s wall unit
Resene art
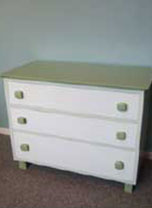
Chest of drawers
Resene art
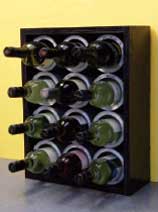
Wine bottle rack
Weekend DIY

1920s table
Ways with wood
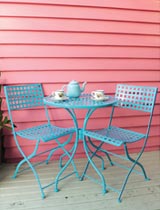
Tea for two
Weekend gardener