Decoupage hat box
Transform a plain hatbox into a thing of beauty with the help of Resene paints.

Resene art with Mark Rayner - Project 25
Difficulty level: Easy
You will need: Bowl of water, kitchen paper, paintbrush, plain hatbox, Resene Multishield+ (now Resene Concrete Clear) gloss, Resene Quick Dry waterborne primer undercoat, Resene testpots in the following colours: Resene Nero and Resene Pohutukawa, self adhesive wallpaper decals (ours came from ‘Spotlight’).
To get the look: Mark painted the background tabletop with Resene Lustacryl semi-gloss waterborne enamel tinted to Resene Designer White.
Other ideas: For a richer look, paint the outside of the hatbox with Resene Bullion.

Step one
Apply one coat of Resene Quick Dry waterborne primer undercoat to the entire hatbox (including lid) and leave for one hour to dry.

Step two
Paint the inside of the hatbox and lid with two coats of Resene Pohutukawa, allowing two hours for each coat to dry.

Step three
Paint the outside of the hatbox with two coats of Resene Nero, allowing two hours for each coat to dry.

Step four
Paint the base of the hatbox with two coats of Resene Nero, allowing two hours for each coat to dry.

Step five
Paint the top and sides of the hatbox lid with two coats of Resene Nero, allowing two hours for each coat to dry.

Step six
Following manufacturer’s recommendations, soak each decal in water for one minute and apply to the lid of the hatbox, removing excess water with a kitchen towel.

Step seven
Repeating step six, applying decals to the side of the hatbox, and leave to dry for a couple of hours.

Step eight
Apply one coat of Resene Multishield+ (now Resene Concrete Clear) gloss to the entire hatbox, allowing two hours to dry.
Other projects you might like to try

Teddy toybox
Resene art
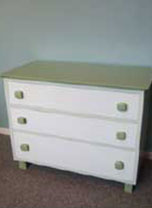
Chest of drawers
Resene art

Cameo jewellery box
Resene art

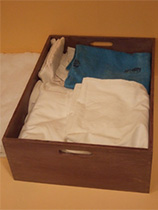
Laundry box
Weekend DIY
Storage box
Ways with wood
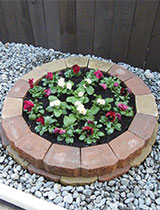
Raise 'em up
Weekend gardener