Whitewash art plinth
Turn a rough wooden storage box into a shabby-chic art plinth using Resene Colorwood Whitewash.

Weekend DIY with Mark Rayner - Project 12
Difficulty level: Moderate
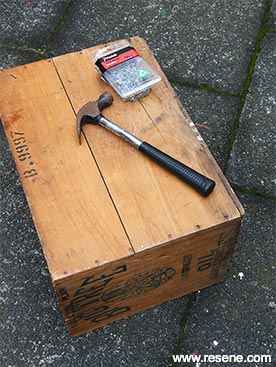
You will need: 25mm flathead nails, Clean damp cloth, Hammer, Old wooden box, Paintbrush, Paint stirrer, Resene Aquaclear gloss, Resene Colorwood Whitewash, Sandpaper with small wooden block
Top tip: Mark painted the background wall with Resene SpaceCote Flat tinted to Resene Blackout.
Other ideas: For a flatter finish simply use Resene Aquaclear satin instead.
How to whitewash an art plinth
 Step one
 Step one Fix any loose or bowed edges with 25mm nails.
 Step two
 Lightly sand the entire box with sandpaper wrapped around a small wooden block, taking care not to sand off any of the old painted lettering.
 Step three
 Wipe off any sanding dust with a clean, slightly damp cloth. Allow wood to dry.
 Step four
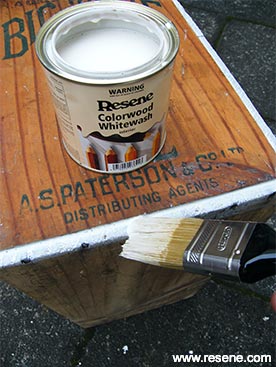 Step five
 Apply the Resene Colorwood Whitewash to the edges, as show, taking care not to get any on the side with lettering on.
 Step six
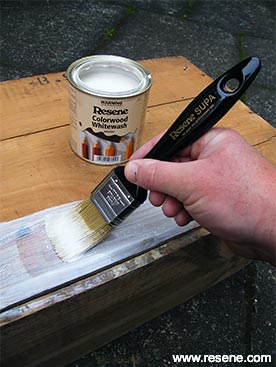
 Paint the remaining sides with one coat of Resene Colorwood Whitewash, brushing in the direction of the grain as shown. Allow to dry for two hours.
 Step seven
 Lightly sand the whitewashed areas to ‘age’ the surface – especially along the edges. Wipe off any sanding dust with a clean, slightly damp cloth and allow to dry.
 Step eight
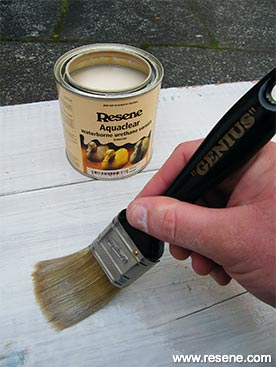
 Apply two coats of Resene Aquaclear gloss to the entire box, allowing two hours for each coat to dry.
› Download a PDF of this project
Other projects you might like to try

Garden coffee table
Weekend DIY

Drawer shelf
Weekend DIY

Display table
Ways with wood

Wooden tray
Ways with wood

Simple cold frame
Weekend Gardener

Outdoor shelves
Weekend Gardener