Little desk
It’s easy to create this cute mini desk from an old drawer and cupboard door.

Resene Toys and Games with Mark Rayner - Project 25
Difficulty level: Moderate
You will need: 10mm x 40mm moulding (approx 500mm), 22mm external corner moulding (approx 2m), 40mm panel pins, 20mm screws, Clean cloth, Drill with 3mm drill bit Hammer, Hinges (x2), Paintbrush, Pencil, PVA glue, Resene Lustacryl tinted to Resene Adrenalin and Resene Turbo, Resene Quick Dry, Sandpaper, Screwdriver, Small piece of chain, Tape measure, Wooden drawer, Wooden cupboard door
To get the look: Mark painted the background wall with Resene SpaceCote Flat tinted to Resene Freelance.
Other ideas: Create a fabulous gold desk using a basecoat of Resene Porsche and two topcoats of Resene Bullion.

Step one
Lightly sand the drawer and cupboard door and then remove any sanding residue with a clean cloth.

Step two
Measure mark and cut four 500mm lengths of the corner moulding to make the desk legs. Sand smooth any rough edges.

Step three
Turn the drawer upside down and attach the legs, as shown, to form the base of the desk. Fix with panel pins and PVA glue. Allow glue to dry.

Step four
Measure, mark and cut the second piece of moulding to fit along the top back edge of the base, as shown – this will help to secure the hinges. Fix with PVA glue and 20mm screws, drilling pilot holes first.

Step five
Apply one coat of Resene Quick Dry to the base and top of the desk and allow two hours to dry.

Step six
Apply two coats of Resene Adrenalin to the base of the desk, allowing two hours for each coat to dry.

Step seven
Apply two coats of Resene Turbo to the top of the desk, allowing two hours for each coat to dry.

Step eight
Drilling pilot holes first, fix the hinges to the top back edge of the base using 20mm screws. In the same way, attach the chain to the lid and base - this will stop the lid from falling back when it’s opened.
Other projects you might like to try

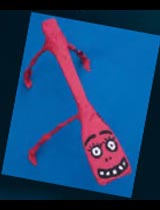
Crackle man
Kids art projects
Creepy critter
Kids art projects
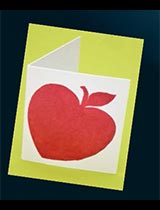
Stencil a card
Kids art projects
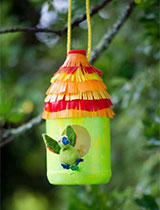
One for the birds
Kids garden projects
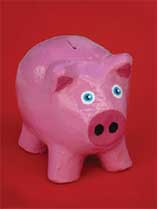
Pink piggy bank
Toys and games

Wooden puzzle
Toys and games